Creating a new command
Creating a New Command
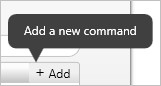
To add a new command, click on the +Add button in the top right corner.
The Add Commands window will appear.
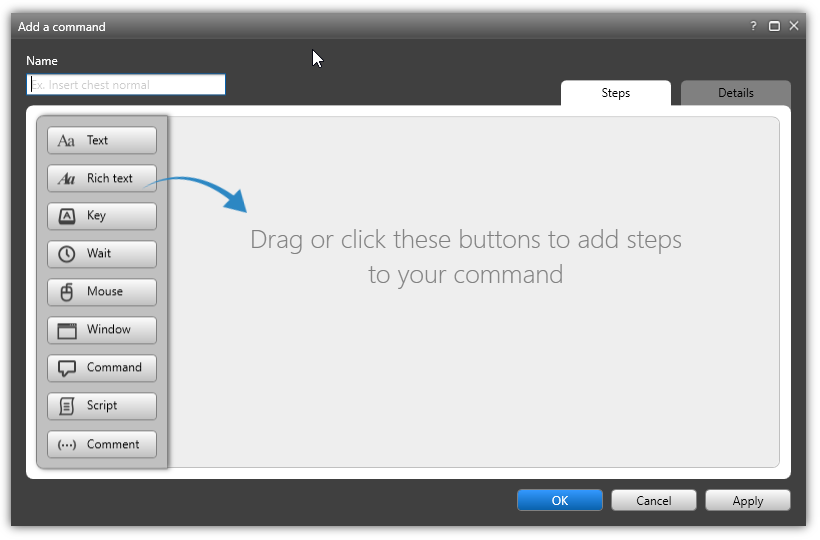 |
Name your command. The Command Name is an important step because this is the speech command that will activate the command details (inserted text, key presses, mouse clicks, wait time, or scripts). Do not choose a name that is complicated to pronounce or too long to be recognized easily. Keep your names simple and relative to the command actions or results. In addition, try to follow these best practices:
Capitalize the first letter of each word in the command name.
Spell out numbers rather than using the numerals (i.e. "Four Two Five" instead of "425").
Use an "action verb" at the beginning of each command name (i.e. "Insert", "Print", etc.).
Make sure the command is more than one word. (i.e. “Insert Physical Exam”)
Add Actions. Using the buttons, add text, keystroke, wait time, mouse clicks, or a script to the command. See Actions below for more information.
Note
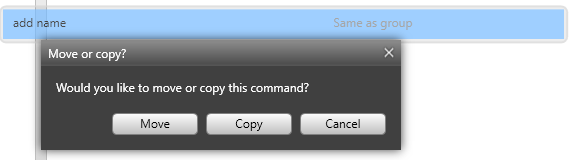
Commands will appear in the group that was selected when you created the command. You can copy or move a command by dragging it to another group.