Microphone Setup
Microphone Setup
Microphone setup should be performed during the Initial Experience. But a microphone can be setup at any time for any reason. If you are changing microphones, you will need to perform the Microphone Setup again.
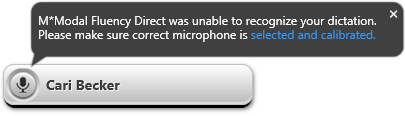
You also may experience an error when changing microphones, when that happens you may see the following and you will need to perform the Microphone Setup process again.
 |
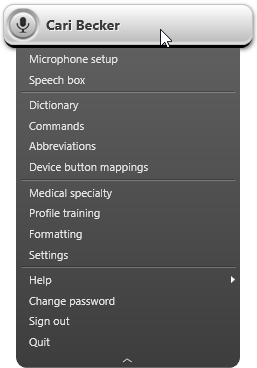
Select Microphone Setup from the Control Bar Menu.
 |
The Microphone Setup window will appear.
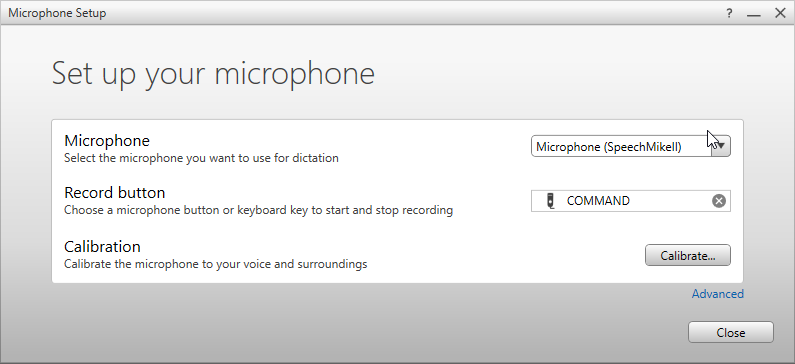 |
Microphone
If you have not installed a microphone at this time, you can connect it now. If you have a microphone installed, you can select it from the drop down menu.
Note
It is strongly recommended to select a Solventum supported microphone from the Suggested microphone list. We do not recommend using your internal laptop microphone.
Linking with the Mobile Microphone
You can use your iPhone or iPad as a microphone source for Solventum Fluency Direct. See the Solventum Mobile Microphone User Guide for additional details.
Record Button
Select the microphone button or keyboard key that you wish to use to start and stop recording.

Click the X to remove the selection.
Calibration
The calibration process is a single screen that will calibrate your microphone to your specific voice and surroundings. You will be prompted to read a paragraph to complete this process.
Microphone calibration will control the volume level of the input source which has a direct effect on recognition quality. This is not the same as the volume slider, which controls the volume level of speakers.
Microphone calibration will stay with your profile, regardless of what computer you are using as long as you are using the same type of microphone. New microphones will require a new calibration.
The calibration process will adjust automatically as you read the paragraph included on the wizard. It will require a minimum of 20 seconds of audio to adjust the gain properly.
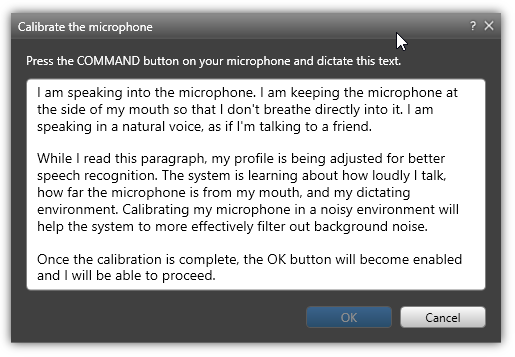
Once you have finished calibrating the microphone, you can click OK to close this window.
Advanced Options
Additional options are available by clicking the Advanced Options link. These options allow you to assign a device button for recording Commands and Text.
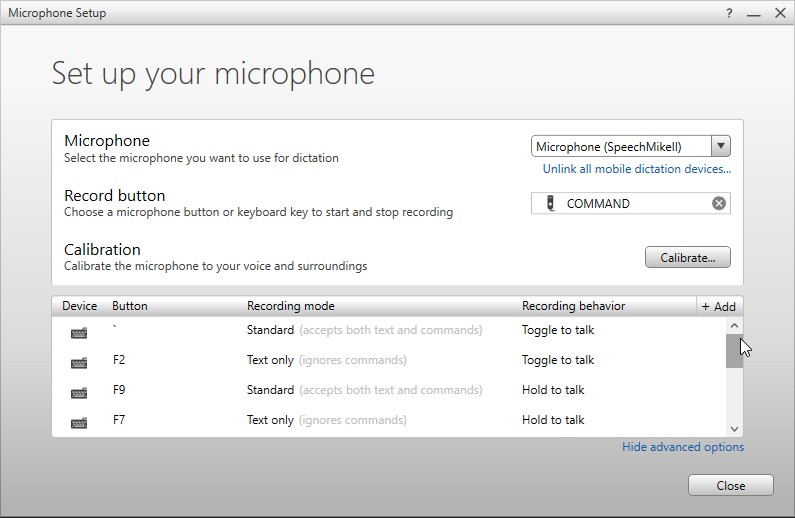 |
Device Button
Click the ADD field to bring up the Add a Device Button screen. From here you can add a Device Button by clicking in the Device Button field and pressing any microphone button.
Recording Mode
Standard Recording | This option recognizes the difference between dictation and commands and accepts both options. |
Text Only Recording | Selecting this option sets the device button to be used for recording text only. When using this button, you will only be able to dictate. Commands will not be recognized as commands, only as text |
Command Only Recording | Selecting this option sets the device button to be used for commands only. When using this button, you will only be able to speak commands. Dictating non-command terms when using this button will not result in dictation. |
Recording Behavior
Hold to Talk | Use this option when you will be using the microphone sporadically and you wish to use the push button to activate the microphone. With this mode, you will hold the record button during the entire dictation and release the button when finished. |
Toggle to Talk | This option allows you to select a microphone button or key press, which will begin your recording session. When finished recording, pressing the button or key press will end the recording session. This method is commonly used with headsets. |